Kinesiology tape
Introduction
Kinesiology tape has become a widely recognized tool in physical therapy and sports medicine, praised for its ability to support muscles and joints, alleviate pain, and enhance physical performance. Developed by Dr. Kenzo Kase in the 1970s, this innovative tape mimics the skin’s elasticity, enabling natural movement while providing therapeutic benefits. Its diverse applications, ranging from injury recovery to chronic pain management, have made it a staple in rehabilitation programs worldwide.
Key Features of Kinesiology Tape
- Material Composition
Kinesiology tape is crafted from a blend of cotton and nylon, ensuring breathability and stretchiness. It adheres to the skin using a strong, water-resistant adhesive and is often available in latex-free, hypoallergenic options to suit sensitive users. - Functionality
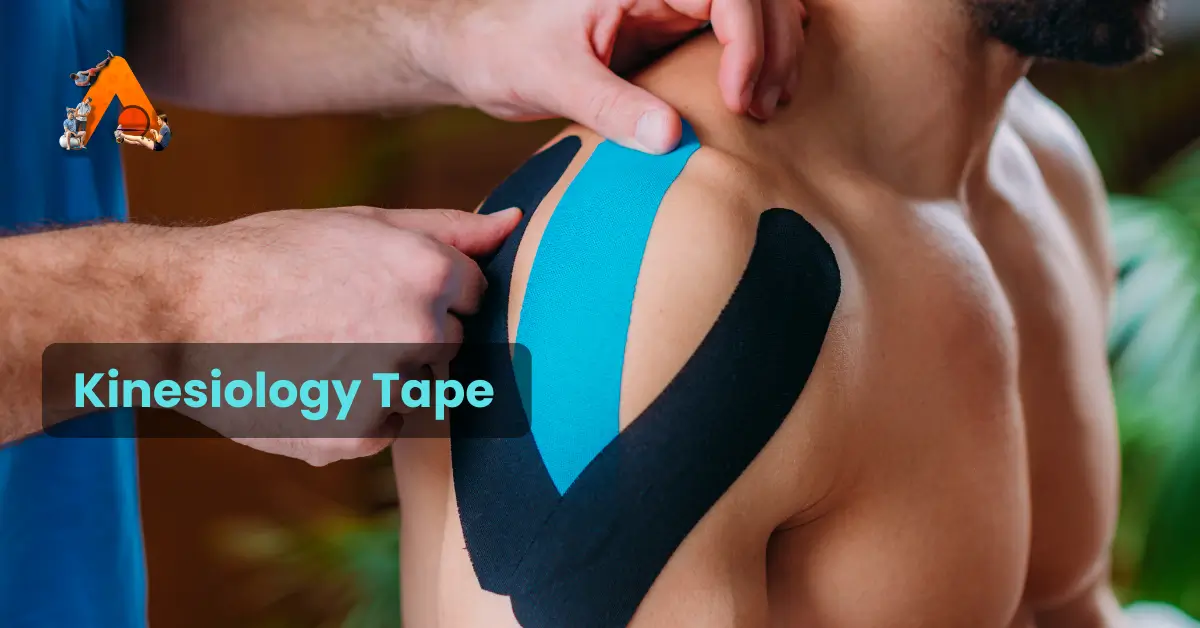
By creating a gentle lift in the skin, kinesiology tape helps reduce pressure on underlying tissues. This unique lifting mechanism improves circulation and decreases pain signals sent to the brain, promoting faster recovery. - Application Techniques
The tape can be applied in various patterns—such as I, Y, or X—depending on the user’s needs. Proper application is essential to achieve desired outcomes, and consulting a trained professional is often recommended for optimal results.
Benefits of Kinesiology Tape
- Pain Relief
Many users report decreased pain after application, as kinesiology tape interrupts pain signals and fosters a sense of relief. - Reduced Inflammation
Enhanced blood flow and lymphatic drainage help mitigate swelling and inflammation in injured areas. - Enhanced Performance
Athletes use kinesiology tape to support fatigued or injured muscles, enabling better performance during competition. - Muscle Support
The tape stabilizes weak or injured muscles without hindering movement, facilitating improved functionality during physical activity. - Posture Correction
By offering feedback through the skin, kinesiology tape aids in correcting postural issues, increasing awareness of body positioning. - Support for Chronic Conditions
Its role in conditions involving muscle overuse or chronic pain, such as tendonitis or sprains, is particularly noteworthy.
Specific Conditions Treated by Kinesiology Tape
- Sports Injuries
Kinesiology tape is commonly applied for injuries like ankle sprains, shoulder impingement, and tennis elbow. It supports the injured area while allowing continued movement, aiding recovery. - Chronic Pain
Conditions such as fibromyalgia and chronic low back pain benefit from the tape’s ability to stabilize affected areas and reduce discomfort. - Muscle Strains and Sprains
Acute muscle strains and sprains are managed effectively using kinesiology tape, which alleviates pain by reducing pressure on sensitive tissues. - Postural Issues
Poor posture, a common cause of pain, can be corrected with kinesiology tape, which encourages proper alignment of the spine and shoulders. - Swelling and Inflammation
The tape’s ability to improve lymphatic drainage and circulation makes it effective in reducing swelling from conditions like lymphedema or post-surgical recovery. - Joint Pain
Arthritis and general joint pain can benefit from kinesiology tape’s supportive properties, which stabilize joints without limiting mobility. - Post-Surgical Rehabilitation
During rehabilitation after surgery, kinesiology tape helps restore mobility and function while protecting healing tissues. - Trigger Points
By lifting the skin over tense muscles, kinesiology tape relieves pain from trigger points, reducing tension and improving flexibility.
Effectiveness of Kinesiology Tape for Chronic Pain
- Pain Relief
Research suggests kinesiology tape can provide significant pain relief, especially when compared to minimal intervention. A meta-analysis demonstrated notable reductions in pain scores among users treated with kinesiology tape.
2. Mechanisms of Action
- Decompression of Tissues: The tape’s skin-lifting effect reduces pressure on tissues, altering sensory signals and potentially decreasing pain perception.
- Improved Circulation: Enhanced blood and lymphatic flow reduces inflammation and promotes healing, particularly in conditions involving swelling.
3. Support for Muscle Function
Kinesiology tape stabilizes muscles and joints, improving function and reducing discomfort without restricting movement.
Considerations and Limitations
- Short-Term vs. Long-Term Effects
While kinesiology tape provides short-term relief, its long-term effectiveness is uncertain. For instance, pain relief observed with taping may not persist six months post-treatment. - Multidisciplinary Approach
Kinesiology tape is often used alongside other therapies like manual therapy and exercise. This combined approach ensures a more comprehensive treatment for chronic pain or injury recovery.
Conclusion
Kinesiology tape is a versatile tool in managing pain, supporting recovery, and enhancing physical performance. Its ability to improve circulation, provide muscle support, and promote healing makes it a valuable addition to rehabilitation programs. However, it should not be seen as a standalone solution but rather as part of a holistic treatment plan. Consulting healthcare professionals ensures proper application and optimal outcomes, making kinesiology tape an essential component of modern therapeutic practices.