Benefits of physiotherapy in athletic recovery
1. Prevention
Screening and assessment- therapist conduct pre participation examination to check whether an athlete is on risk of injury or not.
Education- therapist give proper info about the training, warm up, cool down to the athletes.
2. Acute care
Immediate care- therapist provide immediate management to the acute care to reduce swelling ad inflammation. Such as cryotherapy, compression, elevation, etc.
Early rehabilitation- in initial stage must focus on pain management, reduce swelling and mobility.
3. Rehabilitation
Progressive exercise therapy- rehab program must be design in a progressive way of improvement to restore strength, ranges, flexibility and functional abilty.
Pain reduces techniques
Sports massage and joint mobilization reduce joint stiffness and promote blood flow.
Some modalities like US and TENS also help in reducing the pain.
5. Neuromuscular re-education
It increases movement pattern and coordination in athletes. It helps in improving balance, proprioception and agility of an athlete.
6. Hydration
Therapist must advise for proper hydration to the athlete as dehydration cause heat stroke, heat illness and cramping to the athlete.
7. Specialised techniques
- MFR- therapist must release the tightened muscles to gain the full range and flexibility during the play.
- Taping- therapist must tape the weak or injured muscles. k tape used for support and inhibition and activation while rigid tape used for proving support to the instable joint and provide stability.
- Needling – it is done to get rid of trigger points develop due to overuse of muscles.
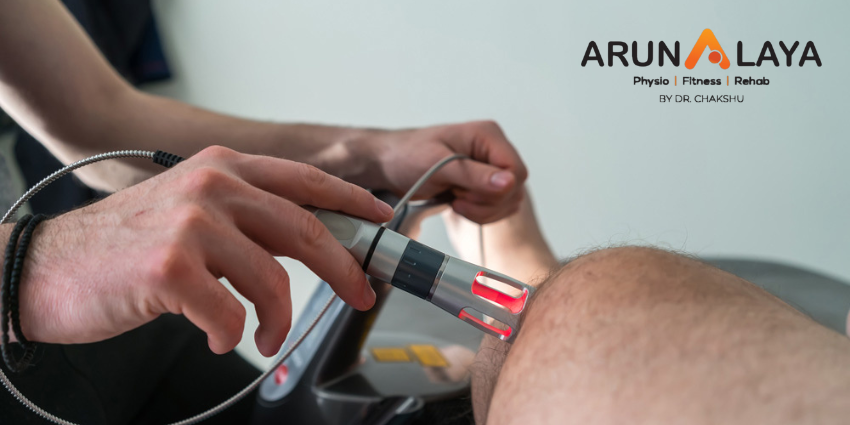
- Manual Therapy: Techniques like stretching, soft tissue massage, and joint mobilization help to make joints work better, ease pain, and support the healing of tissues. o Electrotherapy: Methods such as ultrasound and TENS (transcutaneous electrical nerve stimulation) along with EMS (electrical muscle stimulation) are used to heal, alleviate pain, and boost muscle function.
- ART: Active Release Techniques (ART) are a soft tissue method that focuses on relieving tissue tension via the removal of fibrosis/adhesions which can develop in tissues as a result of overload due to repetitive use.
- MET: This technique focuses on pain relief, increase range of motion, and strengthen the weak muscles.