Balancing Act: Restoring Stability in Post-Surgical Rehabilitation

Table Of Contents

  • Introduction
  • The Importance of Balance and Stability
  • Balancing Act: Restoring Stability with Exercise
  • Blood Flow Restriction Training (BFRT)
  • Kinesiology Taping
  • Stability Ball Exercises
  • Conclusion

Introduction

Recovering from musculoskeletal injuries, whether it’s a sprain, fracture, or ligament tear, can be a daunting journey. Physiotherapists play a pivotal role in guiding individuals through the rehabilitation process, restoring functionality, and improving overall quality of life. In this comprehensive guide, we’ll explore the importance of balance and stability in post-surgical rehabilitation and delve into various exercises and techniques aimed at achieving optimal recovery.

The Importance of Balance and Stability

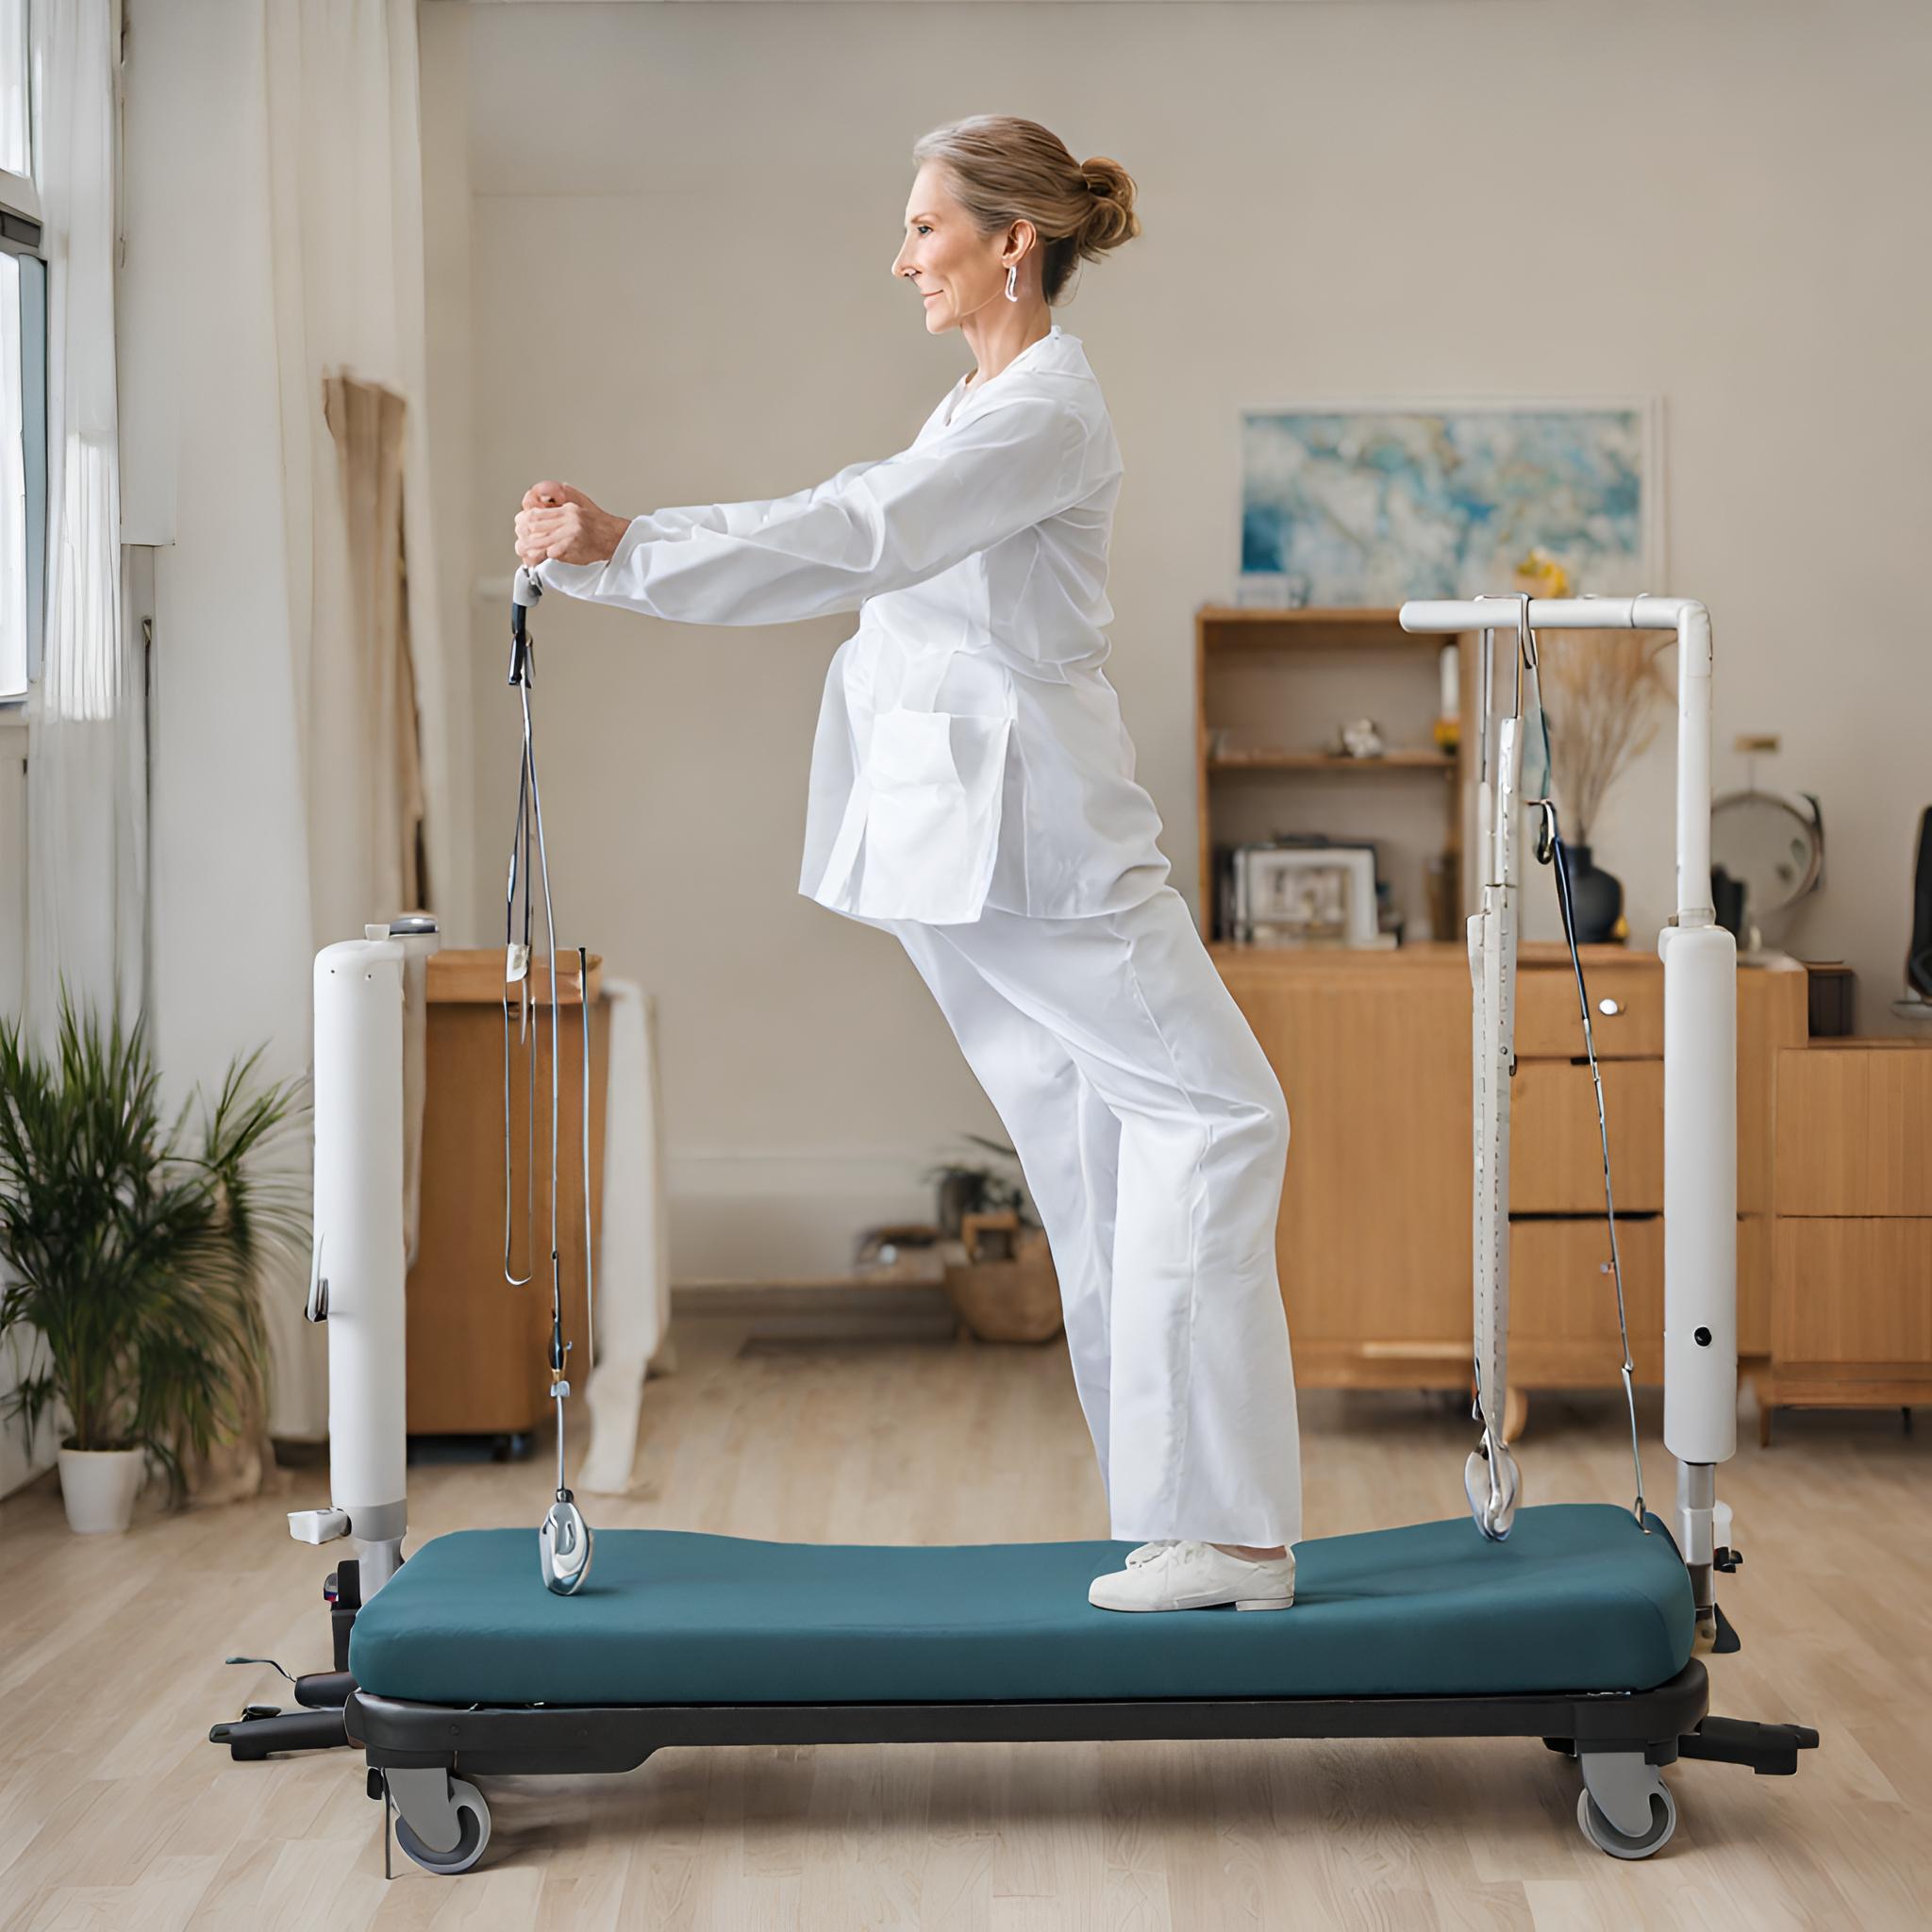
Proper rehabilitation following surgery is essential to prevent long-term complications such as chronic pain, reduced range of motion, and muscle weakness. Balance and stability are fundamental aspects of rehabilitation, as they help individuals regain confidence in their movements and perform daily activities with ease.

Balancing Act: Restoring Stability with Exercise

  1. Single Leg Stance: This exercise challenges balance by requiring individuals to stand on one foot while engaging their core muscles for stability.
  2. Squats: Squats are excellent for strengthening lower body muscles and improving stability, crucial for performing daily activities.
  3. Tandem Walking: Walking heel-to-toe in a straight line enhances coordination and balance, making it an effective exercise for rehabilitation.
  4. Ambulation with High Knees: This exercise focuses on controlled knee lifts while walking, promoting balance and mobility.
  5. Forearm Planks: Building core strength and stability is vital for overall body balance and support, making forearm planks an essential exercise in rehabilitation.

Blood Flow Restriction Training (BFRT)

BFRT is a cutting-edge technique that combines low-intensity exercise with blood flow occlusion, simulating the effects of high-intensity training. This method enhances muscle strength and endurance while minimizing joint stress, making it ideal for post-surgical rehabilitation.

Kinesiology Taping

Kinesiology taping provides joint support and stability, allowing individuals to return to physical activities post-injury with confidence. By reducing pain and supporting proper joint alignment, kinesiology taping plays a crucial role in rehabilitation.

Stability Ball Exercises

Stability balls are versatile tools that can be used to improve balance, strength, and stability. From hamstring curls to wall squats, stability ball exercises target various muscle groups, aiding in the rehabilitation process.

Conclusion

In conclusion, balance and stability are essential components of post-surgical rehabilitation. By incorporating a variety of exercises and techniques, individuals can improve strength, coordination, and range of motion, facilitating optimal recovery. With the guidance of physiotherapists and a commitment to rehabilitation, individuals can regain functionality and resume their daily activities with confidence.


“At Arunalaya Healthcare, we pride ourselves on being the best physiotherapy center in Delhi. Our dedicated team of experts offers top-notch physiotherapy treatment tailored to your needs. Experience the difference with the leading physiotherapy clinic in Delhi area. Our commitment to excellence ensures that you receive the best physiotherapy care possible. Trust Arunalaya Healthcare for the best physiotherapy treatment in Delhi. Our advanced physiotherapy solutions set us apart as the premier choice for your rehabilitation needs. When it comes to physiotherapy, our center stands out as the best in Delhi. Choose Arunalaya Healthcare for comprehensive physiotherapy solutions that deliver results. Visit Arunalaya Healthcare today and discover why we are the best physiotherapy center in Delhi.”


Physiotherapist in Patel Nagar | Physiotherapist for Home Visit in Patel Nagar | Physiotherapy in Karol Bagh | Best Physiotherapist in Punjabi Bagh | Physiotherapist Near Me | Physiotherapy Near Me | Best Physiotherapist in Delhi | Best Physiotherapist in India | Physiotherapy Center in Rajendra Place | Knock knee Clinic Near Me | Back Pain Physiotherapy Near Me | Sports Physiotherapist in Delhi | Stroke Physiotherapy | Paralysis | Cerebral Palsy | Best Sports Injury Physiotherapist in Delhi | Best Sports Injury Physiotherapy in Delhi | Physiotherapy Home Service | Physiotherapy at Home | Home Visit Physiotherapy | Advanced Physiotherapy in Delhi | Physiotherapy Clinic Near Me

“Comprehensive Physiotherapy for Lumbar Stenosis: A Gentle Path to Relief”

Introduction

Welcome to PhysiotherapistInDelhi.com, your trusted source for compassionate and effective physiotherapy solutions in the heart of Delhi. Today, we’re here to shed light on lumbar spinal stenosis, exploring the role of physiotherapy in providing relief and improving your quality of life.

Understanding Lumbar Spinal Stenosis

The human spine comprises several crucial regions, including the cervical spine (your neck), the thoracic spine (your upper and middle back), and the lumbar spine (your lower back), which is the focus of our discussion. At the base, we also have the sacrum and coccyx.

Symptoms

Lumbar spinal stenosis often presents with symptoms like buttock or leg pain when standing or walking, which can be relieved by sitting or bending forward. The notion is that being upright narrows the space for nerves, leading to discomfort. Additionally, you may experience tingling, weakness, and a need for a wider support base while walking.

The Vital Role of Physiotherapy

Patients with lumbar spinal stenosis are frequently offered early surgical intervention, although conservative treatment through physiotherapy can be a viable alternative. Not only does surgery carry potential complications, but mild symptoms of radicular pain can often be alleviated with physical therapy.

It’s important to note that the specific content and effectiveness of physiotherapy in comparison to other non-surgical approaches are still being studied. Postoperative care after spinal surgery varies widely, with surgeons having different approaches to rehabilitation, restrictions, and advice for patients.

Physiotherapy Exercises for Lumbar Stenosis

  1. Squat Progression:
    • Level 1: Bodyweight Squat – Gently tap your buttocks to a chair and stand back up. Adjust the range of motion or use your hands for support if necessary. Aim for 3 sets of 12-15 repetitions.
    • Level 2: Split Squat – Begin in a stride stance, lower yourself straight down, and return to an upright position. Adjust the range of motion and use hand support if needed. Aim for 3 sets of 6-12 reps.
  2. Plank Progression:
    • Level 1: Plank – Assume a plank position on your toes and forearms, keeping your body in a straight line while engaging your glutes. Start on an elevated surface if necessary.
    • Level 2: Plank Reaches – Maintain the plank position while alternately reaching your arms forward. Aim for 3 sets of 45-60 seconds for each exercise.
  3. Glute Bridge Progression:
    • Level 1: Double Leg Bridge – Lie on your back, lift your hips, contract your glutes, and lower back down. Aim for 3 sets of 12-15 reps.
    • Level 2: Single Leg Bridge – Keep the opposite knee straight or bent while performing single-leg bridges. Aim for 3 sets of 6-12 reps.

Lumbar Flexion Exercises

In addition to the exercises mentioned above, lumbar flexion exercises that round the lower back can be performed as needed throughout the day.

There’s no specific set and rep count for these exercises; simply do what feels comfortable while enhancing your function.

At PhysiotherapistInDelhi.com, we understand that living with lumbar spinal stenosis can be challenging, and our dedicated team is here to guide you on your path to recovery and relief.

If you are seeking the best physiotherapist in Patel Nagar or require physiotherapy at home in Patel Nagar, look no further. Contact us today to embark on your journey towards a pain-free.

“At Arunalaya Healthcare, we pride ourselves on being the best physiotherapy center in Delhi. Our dedicated team of experts offers top-notch physiotherapy treatment tailored to your needs. Experience the difference with the leading physiotherapy clinic in Delhi area. Our commitment to excellence ensures that you receive the best physiotherapy care possible. Trust Arunalaya Healthcare for the best physiotherapy treatment in Delhi. Our advanced physiotherapy solutions set us apart as the premier choice for your rehabilitation needs. When it comes to physiotherapy, our center stands out as the best in Delhi. Choose Arunalaya Healthcare for comprehensive physiotherapy solutions that deliver results. Visit Arunalaya Healthcare today and discover why we are the best physiotherapy center in Delhi.”

Understanding Lateral Ligament Injury of the Ankle

Lateral ligament injury is among the most prevalent types of sports injuries addressed by physiotherapists. Men and women are estimated to suffer from lateral ankle sprains at roughly the same rates.

A lateral ligament injury of the ankle is a common injury that occurs when the ligaments on the outer side of the ankle are damaged. The most frequently affected ligaments are the anterior talofibular ligament (ATFL), the calcaneofibular ligament (CFL), and the posterior talofibular ligament (PTFL). These ligaments are responsible for providing stability to the ankle joint.

Lateral ankle sprains are also known as inversion or supination ankle sprains. The complex of ligaments on the lateral side of the ankle is torn by varied degrees as a result of a forced plantarflexion/inversion movement.

Individuals who sustain multiple recurrent ankle sprains have been documented to have functional and mechanical instability, as well as an increased risk of re-injury. Small fractures surrounding the ankle and foot (e.g. Pott’s fracture) and straining or rupture of the muscles around the ankle (e.g. calf, peroneii, tibialis anterior) should also be avoided even if they are the less prevalent causes of ankle pain.

Lateral Ankle Ligament Tear Types:

Lateral ligament injuries of the ankle can be classified into three main types based on the ligaments involved and the severity of the tear:

Anterior talofibular ligament (ATFL) injury: This is the most common type of lateral ligament injury and often occurs in isolation. It involves the stretching or tearing of the ATFL, which connects the talus bone to the fibula. It is commonly associated with ankle inversion injuries.

Calcaneofibular ligament (CFL) injury: The CFL is located slightly below the ATFL and connects the calcaneus (heel bone) to the fibula. CFL injuries typically occur along with ATFL injuries or in more severe sprains. In some cases, the ATFL and CFL can be injured together, resulting in a higher-grade ligament tear.

Posterior talofibular ligament (PTFL) injury: The PTFL is the least commonly injured ligament in lateral ligament injuries of the ankle. It connects the talus bone to the fibula at the back of the ankle. PTFL injuries usually occur in severe ankle sprains or high-energy trauma.

CAUSES

Ankle sprain: The most common cause of a lateral ligament injury is an ankle sprain, which typically occurs when the foot rolls inward, resulting in stretching or tearing of the ligaments on the outer side of the ankle.

Sports injuries: Activities that involve quick changes in direction, jumping, or running on uneven surfaces increase the risk of ankle sprains and ligament injuries.

Trauma: Direct trauma or impact to the ankle joint, such as a fall or a collision, can cause damage to the lateral ligaments.

CLINICAL FEATURES

  • Pain on the outer side of the ankle
  • Swelling and bruising
  • Difficulty walking or bearing weight on the affected foot
  • Instability or a feeling of the ankle giving way
  • Limited range of motion in the ankle joint.

RISK FACTORS

Body mass index, slow eccentric inversion strength, quick concentric plantar flexion strength, passive inversion joint position sense, and peroneus brevis reaction time were all linked to an elevated risk of lateral ankle injury.

ASSESSMENT OF ANKLE JOINT

  • Amount of instability present by assessing the grade of the sprain;
  • Loss of Range of motion (ROM);
  • Loss of the muscle strength;
  • Level of reduced Proprioception.

OBSERVATION

Any symptoms of injury, inflammation, skin colour changes, or muscle atrophy or hypertrophy are noted. Following that, the foot and ankle are observed in two separate positions: non-weight bearing and weight bearing. Take note of the gait pattern, degree of limp (if any), and facial expression when bearing weight.

HISTORY

Mechanism of injury: A plantarflexion/inversion injury would indicate damage to the lateral ligament, whereas a dorsiflexion/eversion injury would indicate damage to the medial ligament. Previous history of injury on the same side will give clues as to whether the ankle was unstable to begin with, or that a previous injury wasn’t properly rehabilitated.

History of injury on the other side as well may indicate a biomechanical predisposition towards ankle injuries.

GRADES

Grade 1: Mild sprain with minimal stretching or tearing of the ligament fibers. There may be slight swelling, tenderness, and minimal loss of function.

Grade 2: Moderate sprain with partial tearing of the ligament fibers. This grade is characterized by increased swelling, bruising, pain, and difficulty walking or bearing weight on the affected ankle.

Grade 3: Severe sprain with complete tearing or rupture of the ligament. Significant swelling, bruising, pain, and instability are commonly observed. Walking or weight-bearing may be extremely difficult or impossible.

SPECIAL TEST

An anterior draw is performed to assess the ATFL and CFL integrity. The heel is grabbed with the ankle in plantarflexion, and the tibia is stabilised and dragged anteriorly.
The talar tilt is used to evaluate the integrity of the ATFL and CFL laterally, as well as the deltoid ligament medially. The heel is grabbed again, the tibia is stabilised, and the talus and calcaneus are pushed laterally and medially.
Beginning with a simple single leg stance, proprioception can be measured in a variety of more challenging methods. The patient can do it on the normal side first to give the therapist a sense of what is typical, and then try it on the injured side.

DIFFERENTIAL DIAGNOSIS

  • Ankle fracture (medial/lateral malleolus, distal tibia/fibular)
  • Damage to the medial ligament
  • Dislocated ankle
  • Other soft tissue damage (peroneal tendons, muscle strain)

TREATMENT

REDUCE PAIN AND SWELLING

The RICE regimen (Rest, Ice, Compression, and Elevation) can be used to minimise pain and swelling in the first 48-72 hours after an acute lateral ligament damage.

If weight bearing is too painful, the patient can use elbow crutches for 24 hours and remain non-weight bearing. However, it is critical to begin at least partial weight bearing as soon as possible, along with a regular heel-toe gait pattern, since this will help to reduce pain and swelling.

Gentle soft tissue massage and light stretches can be conducted to help with the clearance of oedema, as long as they are painless.

Range of motion exercises: These exercises aim to restore the normal range of motion in the ankle joint and may involve gentle ankle rotations, ankle pumps, and alphabet exercises.

Strengthening exercises: Strengthening the muscles around the ankle joint helps provide support and stability. Common exercises include calf raises, toe raises, ankle inversions and eversions (using resistance bands or manual resistance), and single-leg balance exercises.

Proprioceptive and balance exercises: These exercises improve the body’s awareness of joint position and enhance balance and stability. Examples include standing on one leg, balance board exercises, and wobble board exercises.

RETURN TO FUNCTIONAL ACTIVITY

  • Twisting
  • Jumping
  • Hopping on one leg
  • Running
  • Figure of 8 running

Before returning to full functional activity the patient should have full range of pain free movement in the ankle, normal strength and normal proprioception. If returning to sports, the athlete should be encouraged to wear an ankle brace or to tape the ankle for a further 6 months to provide external support.

PLANTAR FASCITIS

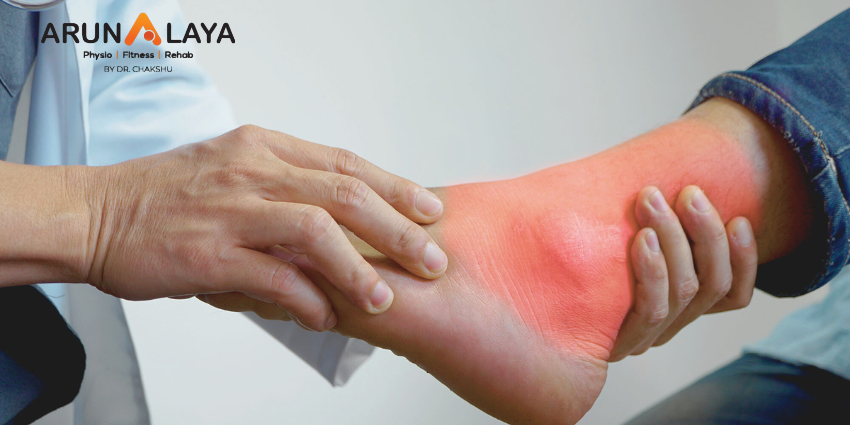
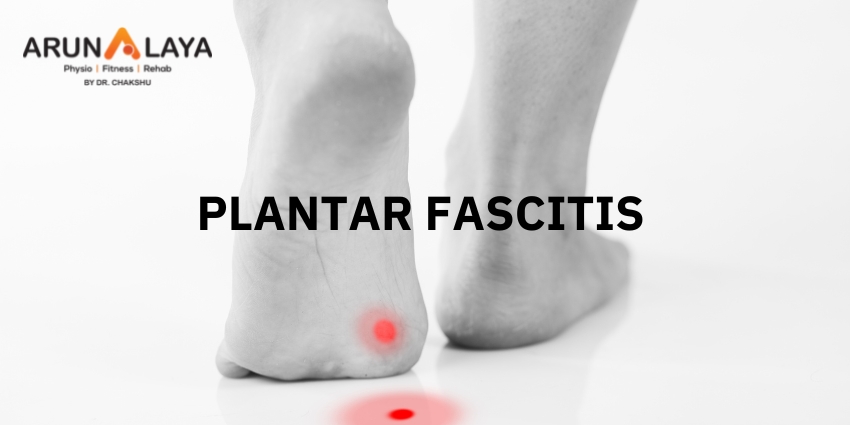
Heel Pain medically known as Plantar fasciitis is a very common condition in today’s fast paced lifestyle. Apart from plantar fasciitis there are other causes of heel pain as well.

8 causes of Heel Pain

1.            Plantar fasciitis

2.            Heel spur

3.            Calf strain

4.            Achilles tendonitis

5.            Heel neuritis

6.            Heel bursitis

7.            Due to wearing high heels

8.            Stress fracture of the calcaneus

What are the symptoms of Plantar Fasciitis?

             Severe pain and swelling over heel

             Numbness or tingling in the heel

             You are unable to walk normally

             You can’t stand on the back of the foot

             Morning Pain in the heel

             Difficulty in walking

Diagnosis

The therapist will ask the patient how much walking and standing the patient does, what type of footwear is worn, and details of his/her medical history. Often this is enough to make a diagnosis.

Physical Examination

On physical examination, patients may walk with their affected foot in an equine position to avoid placing pressure on the painful heel. Palpation of the medial plantar calcaneal region will elicit a sharp, stabbing pain. Passive ankle/first toe dorsiflexion can cause discomfort in the proximal plantar fascia; it can also assess tightness of the Achilles tendon. Other causes of heel pain should be sought if history and physical examination findings are atypical for plantar fasciitis.

PHYSIOTHERAPY MANAGEMENT

Cryotherapy 15-20min. for reducing pain and swelling.

Ultrasonic therapy

TENS(Transcutaneous Electrical Nerve Stimulation)

Plantar fascia stretching

Calf stretches

Ankle strengthening exercises

Advanced Physiotherapy

Myofascial Release

Dry needling

Taping

IASTM

Prevention

Dont’s

Avoid wearing high heels.

Avoid prolonged standing.

Avoid running.

Avoid walking on uneven hard surfaces.

Do not walk bare foot even at home.

Avoid driving for long hours.

Do’s

Do stretch your calves muscle twice daily.

Do wear comfortable shoes with soft and spongy insoles. Use silica gel heel cushion.

Do take rest while prolonged standing or walking.